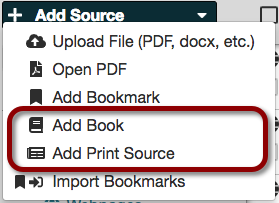
Scrible Edu Pro has long offered the ability to add books and print sources to your bibliography via the Add Offline Source feature. We’ve now taken this to the next level! The Add Offline Source option has been replaced with two new options: Add Book and Add Print Source.
Working with Books
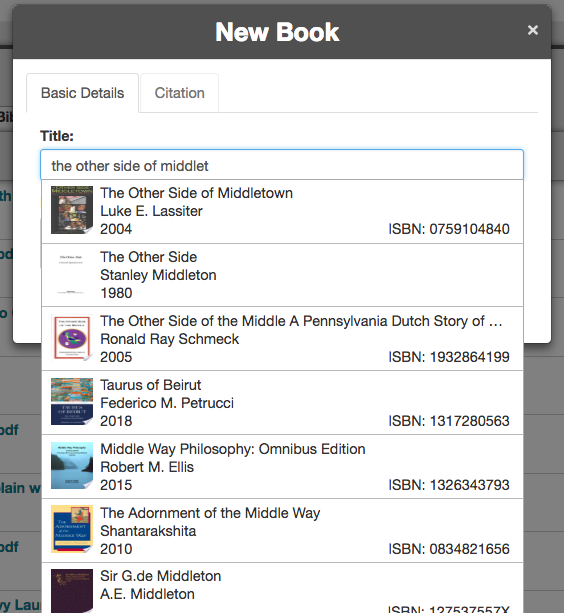
When you add a book, as you enter its title, we suggest potentially matching books and automatically populate the citation details. You can also enter a book’s ISBN to search by that instead.
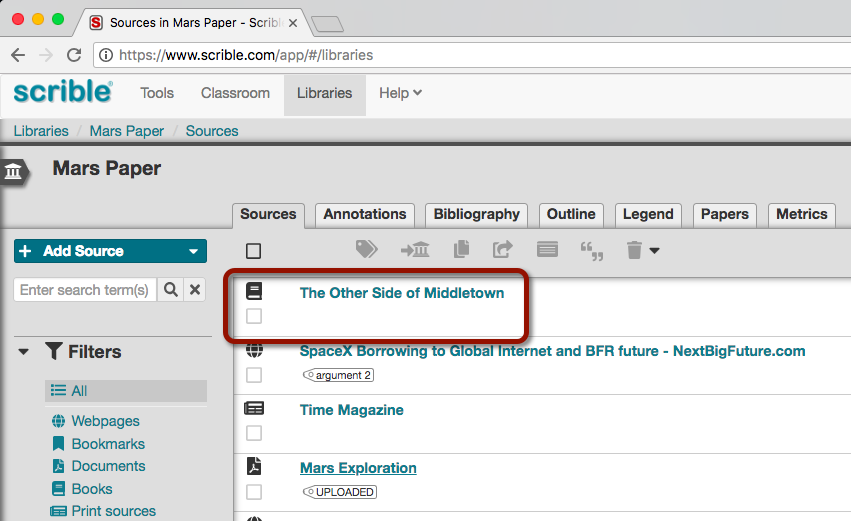
Once you’ve selected the book and clicked the Create Button, the book is added to your Library as a new source.
When you open it, you’re brought into our new Book and Print Source Editor. It allows you to enter passages and annotations from these sources into Scrible. Simply click the Add Passage Button ![]() to show the Passage Editor and then type in a passage and enter its corresponding page number in the book. Page numbers are optional but encouraged because passages are grouped by page to help keep them ordered correctly. The Editor displays each page with the all of passages you’ve entered for that page. By default, passages are added to a page in the order you enter them, but you can drag and drop them within a page to reorder.
to show the Passage Editor and then type in a passage and enter its corresponding page number in the book. Page numbers are optional but encouraged because passages are grouped by page to help keep them ordered correctly. The Editor displays each page with the all of passages you’ve entered for that page. By default, passages are added to a page in the order you enter them, but you can drag and drop them within a page to reorder.
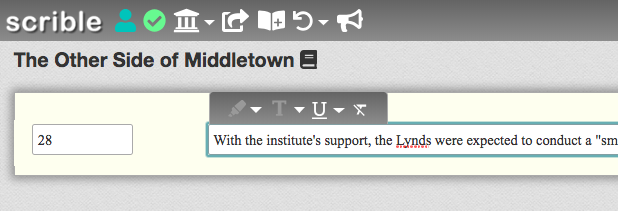
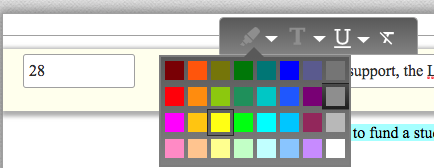
While editing a passage, a mini annotation toolbar appears atop the Passage Editor with options to set the color and style of the passage. You can apply an annotation type and color to each passage so you can maintain a consistent annotation style across all of your digital sources (e.g. webpages and PDFs) and print sources (e.g. print books, magazines, newspapers, etc.).
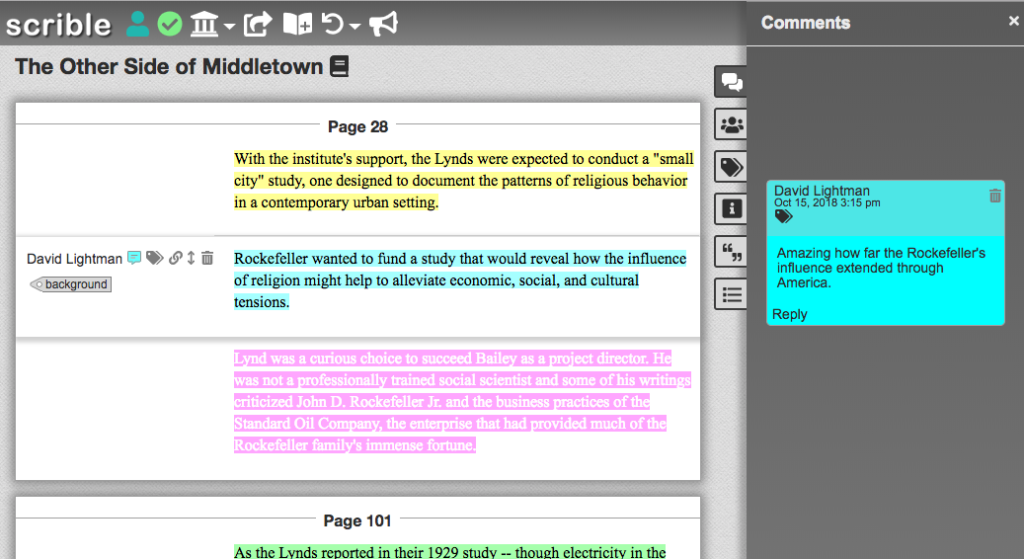
Once entered, as with annotated text in digital sources (e.g. webpages and PDFs), you can apply tags to annotated passages and add comments to them using the icons appearing to the left of each passage when you hover over it.
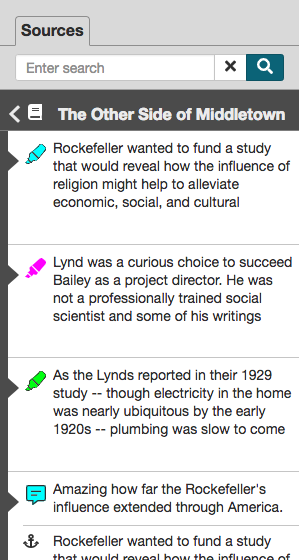
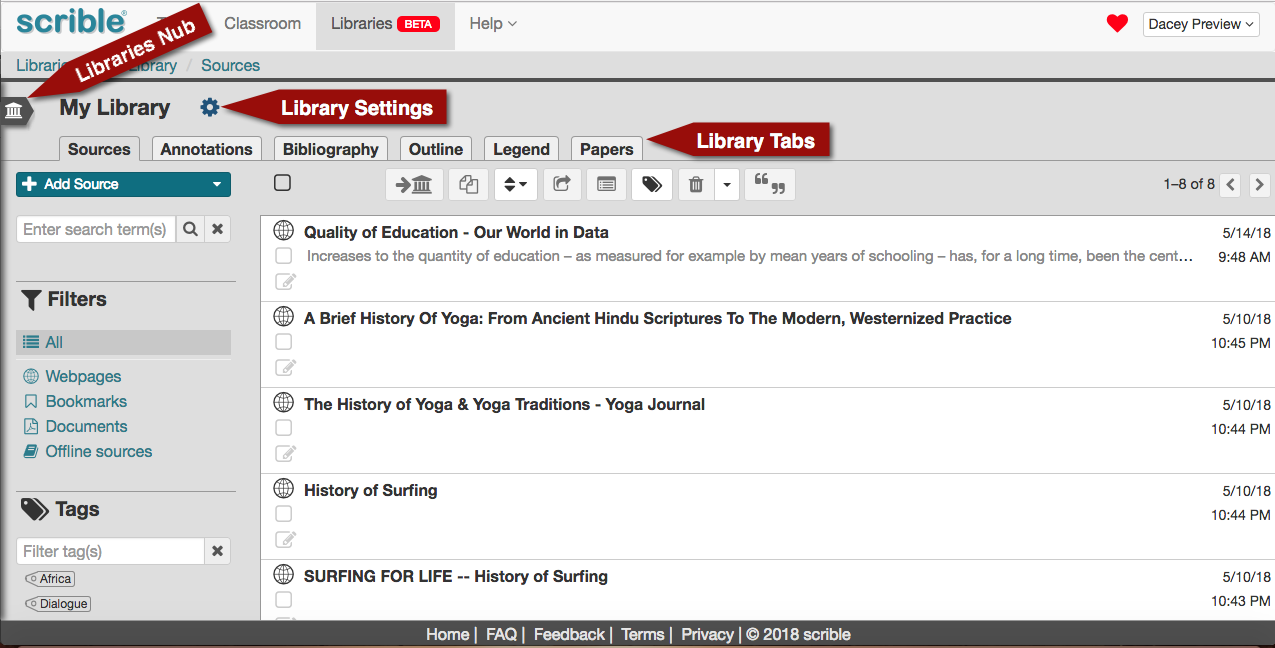
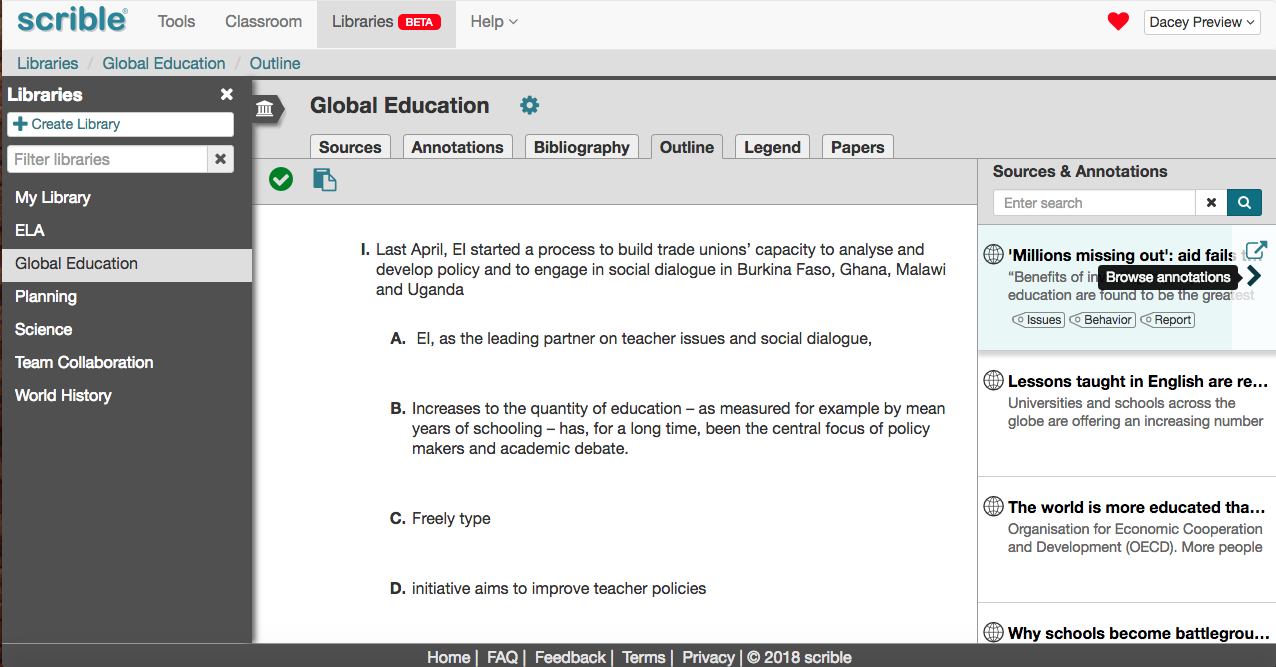
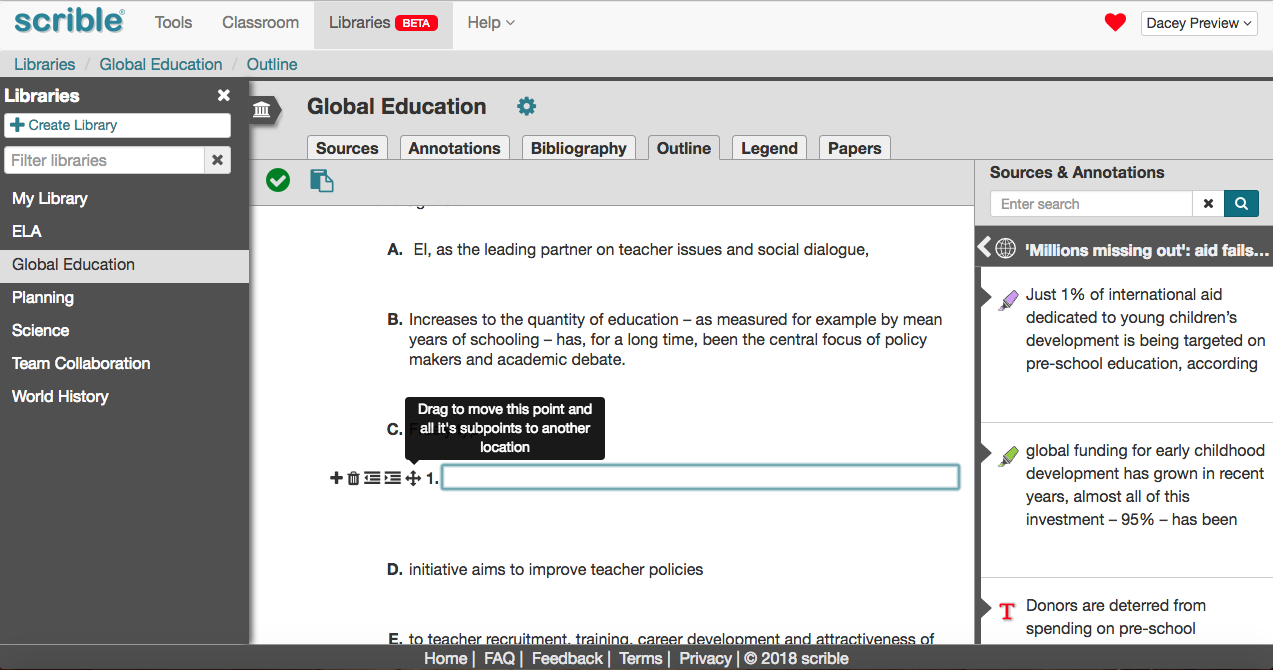
As with webpages and PDFs, all annotations and tags for book and print sources flow through the system and appear in the Sources Sidebar in the Outline Editor in your Library and the Scrible Writer Google Docs Add-on.
Working with Print Sources
The screenshots shown here are for the example of working with a book, but what about print sources like a print magazine or newspaper? Similar story. When you choose Add Print Source in a Library, the print source you enter is added to that Library. Opening the source brings you into our Book and Print Source Editor. As with books, you can add a page number and passage so that your entered passages are grouped and ordered by page. You can apply annotation styles/colors, attach comments and add tags to the passage. In this case, however, the icons are a bit different. Instead of the book icon in your Library, the print source appears as a newspaper icon ![]() and the Add Passage Button is similar
and the Add Passage Button is similar ![]() . As with the book annotations and tags, everything for a print source flows through the system and appears in the Sources Sidebar in the Outline Editor in your Library and the Scrible Writer Google Docs Add-on.
. As with the book annotations and tags, everything for a print source flows through the system and appears in the Sources Sidebar in the Outline Editor in your Library and the Scrible Writer Google Docs Add-on.
We’d love to hear your feedback on these capabilities. Let us know!
— The Scrible Team








 you’re not reading news in PDFs, but research studies, business reports and white papers, academic and scholarly articles and the like are all still published, shared and consumed in PDF… And that’s just the new stuff. There’s a treasure trove of legacy PDFs. Altogether, Phil estimates 2.5 trillion PDFs in the world. That’s with a t. Whoa.
 Yeah, but times have changed. We spend way more time in browsers and using cloud-based apps like Google Apps these days. Legacy PDF viewers were built for the Desktop Era. It’s time to go back to the future with a modern way to work with a legacy file format. Our new PDF Viewer/Annotator is browser-based, auto-saves your PDFs and annotations to the cloud, enables real-time collaboration, fits seamlessly into your Web browsing experience and integrates with Google Drive. Welcome to the future.


 In PDF Land, you can reply to someone else’s comment on a shared PDF. Know what that means? You can have discussions right in the margin of the PDF. You comment. Elon replies. You reply. He replies and shuts you down. Well, better luck next time.
 Gwynne to send you her comments before you add yours and then send them to Tom. You can all just access, comment and reply whenever you’re free and everyone else can see your comments immediately. You’re welcome.


